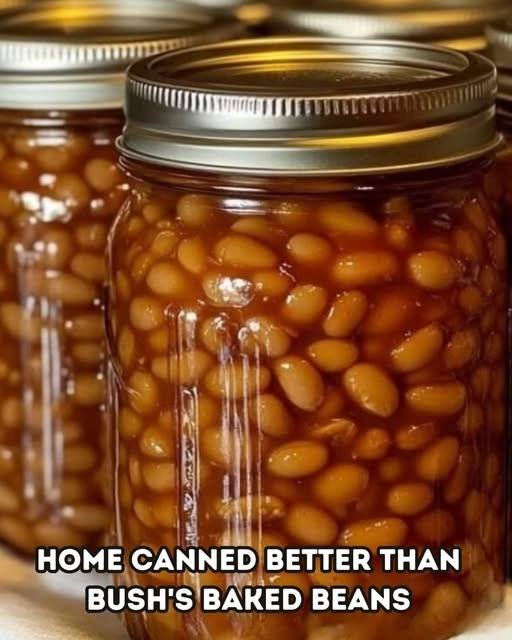
🫘 Why Make Your Own Canned Beans?
- Save money: Dry beans are incredibly affordable compared to canned ones.
- Control ingredients: Add your own seasonings or keep them plain — no excess salt or mystery additives.
- Better taste and texture: Home-cooked beans are creamier and more flavorful.
- Eco-friendly: Cut down on packaging waste by using reusable jars.
🛒 Ingredients
- 2 pounds of dry beans (any kind: black, pinto, kidney, navy, garbanzo, etc.)
- Water
- Salt (optional)
- Bay leaf, garlic, or onion (optional for flavor)
🍲 Instructions
Step 1: Sort & Rinse
Pick through the dry beans to remove any debris or broken pieces. Rinse thoroughly under cold water.
Step 2: Soak the Beans
Overnight Soak (preferred method):
- Place beans in a large bowl and cover with 3–4 inches of water.
- Let sit at room temperature for 8–12 hours.
- Drain and rinse before cooking.
Quick Soak (if you’re short on time):
- Place beans in a large pot, cover with water, and bring to a boil.
- Boil for 2 minutes, then remove from heat.
- Cover and let sit for 1 hour. Drain and rinse.
Step 3: Cook the Beans
- Add soaked beans to a large pot.
- Cover with fresh water (about 2 inches above the beans).
- Add optional flavorings like garlic cloves, bay leaves, or onion slices.
- Bring to a boil, then reduce heat and simmer uncovered until beans are tender:
- Black beans: ~60–75 minutes
- Chickpeas: ~90–120 minutes
- Pinto beans: ~90 minutes
Tip: Don’t add salt until beans are nearly done — salt can slow down the cooking.
Step 4: Prepare Jars for Canning
- Wash and sterilize quart or pint-sized canning jars, lids, and rings.
- Fill each jar with cooked beans, leaving about 1 inch of headspace.
- Add hot cooking liquid or fresh boiling water to cover the beans.
- Remove air bubbles using a clean utensil.
- Wipe rims, place lids on top, and screw on rings until fingertip-tight.
Step 5: Pressure Can the Beans
Important: Beans are low-acid and must be pressure canned for safety.
Do not attempt to water bath can beans — it’s not safe for long-term storage.
- Load jars into your pressure canner following the manufacturer’s instructions.
- Process at 10 PSI (pounds per square inch) or according to your altitude:
- Pints: 75 minutes
- Quarts: 90 minutes
- Let the canner cool naturally. Once depressurized, remove jars and let them cool completely.
Step 6: Store and Enjoy
- Check seals after 12–24 hours. Lid should be firm and not flex when pressed.
- Label jars with the date and type of bean.
- Store in a cool, dark pantry for up to 1 year.
✅ How to Use Homemade Canned Beans
- Add to soups, stews, and chili
- Toss in salads and grain bowls
- Mash for refried beans or dips
- Blend into hummus or veggie patties
- Serve as a simple side dish with seasoning
Final Thoughts
Homemade canned beans are a game-changer in the kitchen. With a little time and planning, you’ll have jars of delicious, ready-to-use beans that are healthier, cheaper, and tastier than store-bought. Once you try it, you might never go back!

