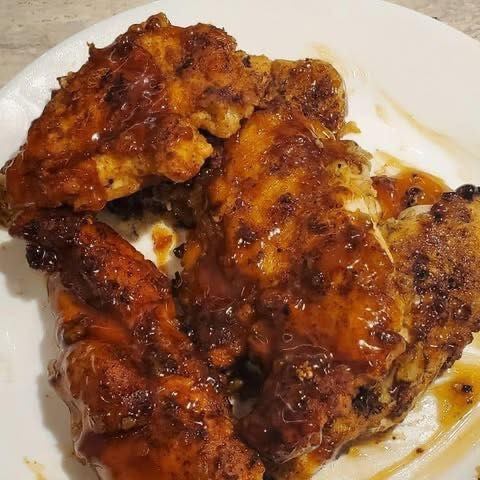
Return the crisp chicken pieces to the skillet with the sauce (or pour the sauce over the chicken in a bowl).
Toss gently but thoroughly until each piece is well‑coated. The starch coating on the chicken helps the sauce cling.
Let the chicken sit in the sauce for 1‑2 minutes so it absorbs the flavour. If the sauce thickens too much and looks too heavy, you can thin it with a splash of chicken stock or water.
Taste and adjust: If you like more garlic punch, add a bit more minced garlic; for more heat, add red pepper flakes; for brighter flavour, a tiny squeeze of lemon or lime just before serving can help.
Step 5: Serving
Transfer the sauced chicken to a platter or serve directly from skillet.
Garnish with sesame seeds, chopped green onion/spring onion, and/or red pepper flakes for colour and texture.
Serve immediately over rice and with vegetables (steamed or stir‑fried broccoli, green beans, carrots). The rice soaks up any extra sauce.
Encourage diners to spoon extra sauce over their rice for max flavour.
Timeline & Texture Expectations
Prep time: ~10‑15 minutes (dredging, cutting, measuring)
Cook time: ~12‑15 minutes (frying chicken) + ~2‑3 minutes sauce & combining = ~15 minutes
Total time: ~25‑30 minutes (for everything) — many quick versions claim 15‑20 minutes. Family Food on the Table+1
Texture: The chicken exterior should be crisp (golden, dryish surface) while interior remains tender and juicy. The sauce should be sticky (not watery) and cling to the chicken, leaving a bit of pool on the plate for the rice.
Variations & Customisations
This recipe is highly adaptable. Here are a few ideas:

