💧 Step 3: Set Up Your Water Propagation Station
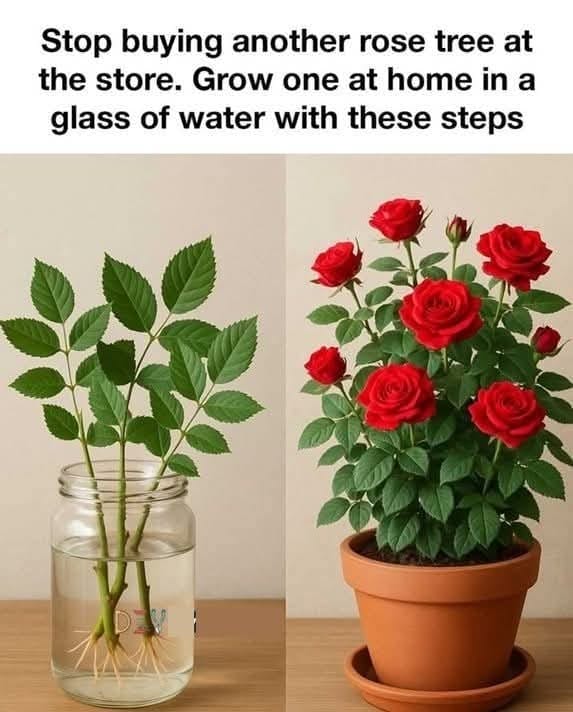
Fill the Jar: Use a clean, clear glass jar. Fill it with enough non-chlorinated water to submerge the bottom 2-3 inches of the cutting (covering at least 2-3 leaf nodes).
Place the Cutting: Put the prepared cutting in the jar. Ensure no leaves are underwater, as they will rot and spoil the water.
Find the Perfect Spot: Place the jar in a location with bright, INDIRECT sunlight. A north or east-facing windowsill is ideal. Avoid direct, hot sun, which can overheat the water and encourage algae.
🔍 Step 4: Maintenance & Monitoring
Change the Water: Refresh the water every 3-5 days to keep it oxygenated and prevent bacterial or fungal growth. Always use room-temperature water.
Be Patient: Rooting takes time! You should see small, white roots emerging from the nodes in 2 to 6 weeks.
Watch for Problems: If the water gets cloudy, change it immediately. If the stem looks slimy, gently rinse it off.
🪴 Step 5: Transplanting to Soil (The Final Step)
Once the roots are at least 2-3 inches long and look sturdy, your new rose plant is ready for soil.
Choose the Right Pot: Select a pot with good drainage holes and fill it with a well-draining potting mix.
Plant Gently: Make a small hole in the soil and carefully place the roots inside. Avoid bending or breaking them. Gently firm the soil around the stem.
Water Thoroughly: Water the plant well to help settle the soil around the roots.
Provide Tender Love and Care: Keep the soil consistently moist (but not soggy) for the first few weeks as the plant adjusts from water to soil. Continue to keep it in bright, indirect light.
