A Fresh, Creamy, and Perfectly Balanced Dessert with Soft Cake Layers, Sweet Strawberries, and Fluffy Whipped Cream
Strawberry Shortcake Layered Slice is a timeless dessert transformed into an elegant, sliceable treat that is perfect for gatherings, celebrations, or simply enjoying a refreshing homemade dessert. This layered version captures everything people love about traditional strawberry shortcake while offering a neat, structured presentation that makes serving effortless.
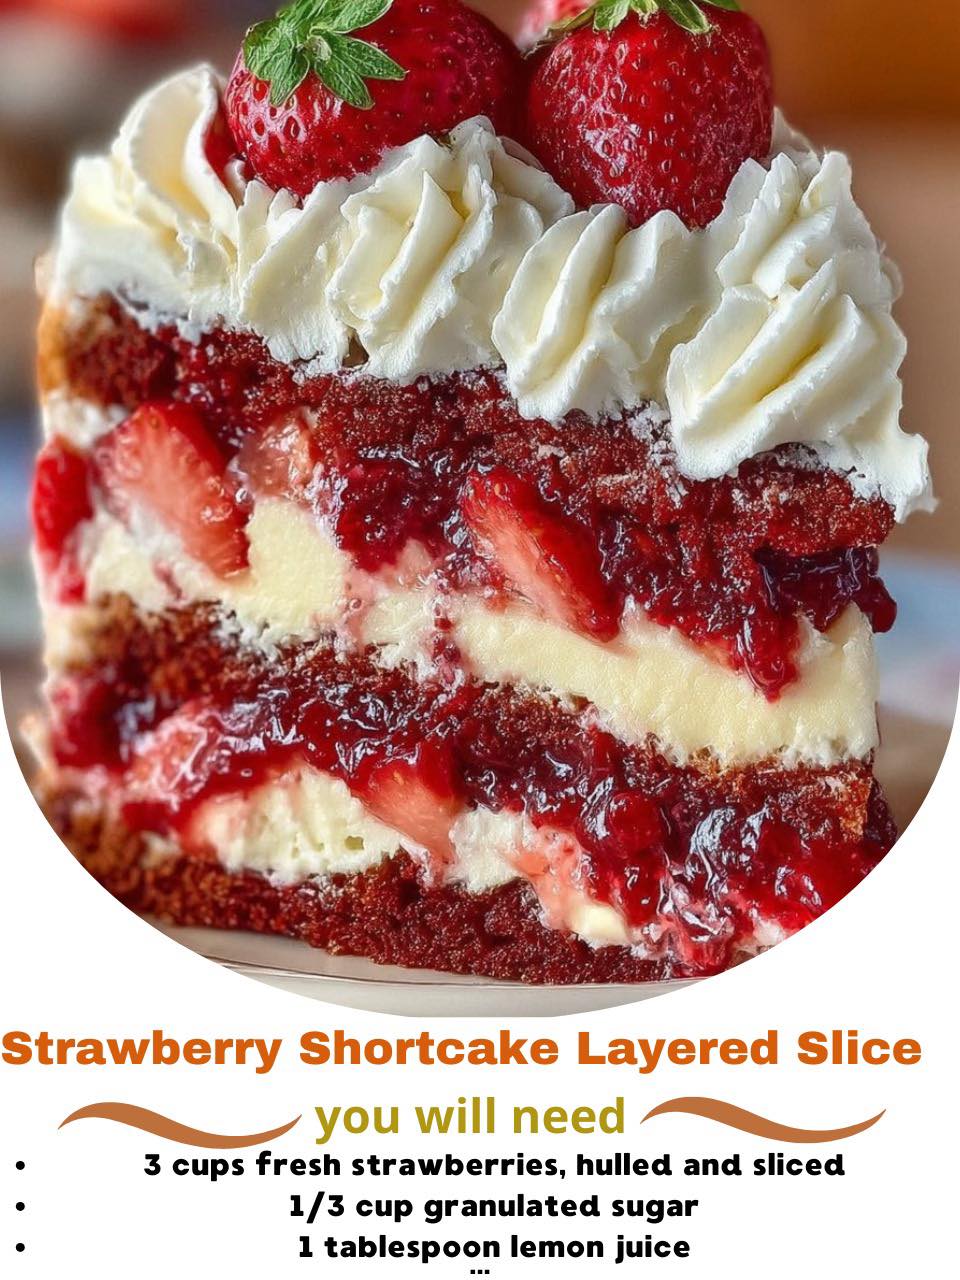
With tender cake layers, juicy macerated strawberries, and clouds of lightly sweetened whipped cream, this dessert is light yet satisfying. It strikes the perfect balance between sweetness and freshness, making it ideal for spring and summer, but equally comforting any time of year when strawberries are available.
This article provides a complete, in-depth guide to making the perfect Strawberry Shortcake Layered Slice. You will learn how to prepare each component, how to assemble clean layers, how to prevent sogginess, how to store and slice the dessert properly, and how to customize it with variations. Whether you are a beginner baker or an experienced home cook, this guide ensures consistent success.
Preparation Time
Preparation Time: 30 minutes
Baking Time: 20 to 25 minutes
Cooling Time: 30 minutes
Assembly Time: 15 minutes
Total Time: Approximately 1 hour 35 minutes
Ingredients
For the Shortcake Base
2 1/2 cups all-purpose flour
1/4 cup cornstarch
1 tablespoon baking powder
1/2 teaspoon baking soda
1/2 teaspoon salt
3/4 cup granulated sugar
1/2 cup unsalted butter, softened
2 large eggs
1 cup buttermilk
1 teaspoon vanilla extract
For the Strawberry Layer
3 cups fresh strawberries, hulled and sliced
1/3 cup granulated sugar
1 tablespoon lemon juice
1 teaspoon vanilla extract
For the Whipped Cream Layer
2 1/2 cups heavy whipping cream
1/2 cup powdered sugar
1 teaspoon vanilla extract
Optional Garnish
Fresh strawberry slices
Crushed shortbread cookies
White chocolate shavings
How to Prepare Strawberry Shortcake Layered Slice
This dessert comes together in several easy stages: baking the shortcake, preparing the strawberries, whipping the cream, and assembling the layers. Each step is explained below in detail to ensure perfect results.
Step 1: Prepare the Shortcake Base
Preheat the oven to 350 degrees Fahrenheit (175 degrees Celsius).
Line a rectangular baking pan with parchment paper and lightly grease it.
In a bowl, whisk together flour, cornstarch, baking powder, baking soda, and salt.
In a separate large bowl, cream the butter and sugar until light and fluffy.
Add eggs one at a time, beating well after each addition.
Mix in the vanilla extract.
Gradually add the dry ingredients, alternating with buttermilk.
Mix until just combined.
The batter should be smooth and thick but pourable.
Step 2: Bake the Shortcake
Spread the batter evenly into the prepared pan.
Bake for 20 to 25 minutes, or until a toothpick inserted in the center comes out clean.
Remove from oven and allow to cool completely in the pan.
Cooling completely is essential before assembling the layers.
Step 3: Prepare the Strawberry Layer
In a medium bowl, combine sliced strawberries, sugar, lemon juice, and vanilla.
Stir gently to coat the berries evenly.
Let the strawberries rest for 20 to 30 minutes.
This process, called maceration, draws out the natural juices and intensifies the strawberry flavor.
Step 4: Make the Whipped Cream
In a cold mixing bowl, pour in the heavy cream.
Add powdered sugar and vanilla extract.
Whip using a hand mixer or stand mixer until stiff peaks form.
Do not overwhip, or the cream will become grainy.
Step 5: Assemble the Layers
Once the cake is fully cooled, carefully slice it horizontally into two even layers.
Place the bottom layer back into the pan or onto a serving tray.
Spread half of the whipped cream evenly over the cake.
Spoon half of the strawberries and their juices over the cream.
Place the second cake layer on top.
Spread the remaining whipped cream over the top layer.
Finish with the remaining strawberries.
Step 6: Chill and Slice
Refrigerate the assembled dessert for at least 30 minutes.
Use a sharp knife to slice into even portions.
Chilling helps the layers set and makes slicing cleaner.
Tips for the Perfect Strawberry Shortcake Layered Slice
1. Use fresh strawberries
Fresh strawberries provide the best texture and flavor. Frozen strawberries release too much liquid.
2. Do not overmix the batter
Overmixing leads to a dense cake.
3. Let the cake cool completely
Warm cake will melt the whipped cream.
4. Macerate strawberries properly
Allow enough time for the berries to release juices.
5. Stabilize whipped cream if needed
For hot weather, add 1 teaspoon gelatin dissolved in warm water to stabilize the cream.
6. Slice with a clean knife
Wipe the knife between slices for neat presentation.
7. Assemble close to serving time
For the freshest texture, assemble the dessert within a few hours of serving.
Variations
No-Bake Version
Use layers of shortbread cookies or graham crackers instead of baked cake.
Lemon Strawberry Version
Add lemon zest to the cake and whipped cream.
Chocolate Strawberry Version
Use chocolate sponge cake and add chocolate shavings.
Cheesecake Cream Version
Replace whipped cream with a light cream cheese frosting.
Individual Servings
Assemble in jars or cups for easy serving.
Storage Instructions
Refrigerate leftovers in an airtight container for up to 3 days.
Do not freeze, as whipped cream does not freeze well.
Serving Suggestions
Serve chilled for best texture.
Pair with tea, coffee, or lemonade.
Add a drizzle of strawberry syrup for extra flavor.
Calories
Calories vary depending on portion size and ingredients. A typical slice contains approximately:
280 to 360 calories per slice
Final Thoughts
Strawberry Shortcake Layered Slice is a beautifully balanced dessert that showcases fresh strawberries and soft cake in a refined yet comforting way. It is simple enough for casual gatherings but elegant enough for special occasions. With its light texture, natural fruit sweetness, and creamy layers, this dessert remains a favorite across generations.
By following the steps and tips in this guide, you can create a perfectly layered dessert that slices cleanly and tastes incredible every time.

